At first I wanted to run a 24/7 Minecraft server with my friends, but I was worried about the electricity bill if I ran it on my own computer. So I started looking into server hosting. I spent a few days trying out different hosting companies. The Korean ones were expensive, and the overseas ones were frustratingly slow. I kept looking for an affordable way to host the server and settled on Google Cloud. Let me show you how to set it up.
I wanted to keep a server running around the clock, but that was a bit tricky with my setup. After looking into my options, I decided to host it on Google Cloud. But no matter how much I looked, I couldn’t find a guide that laid it all out clearly, so I thought I’d show you how myself.
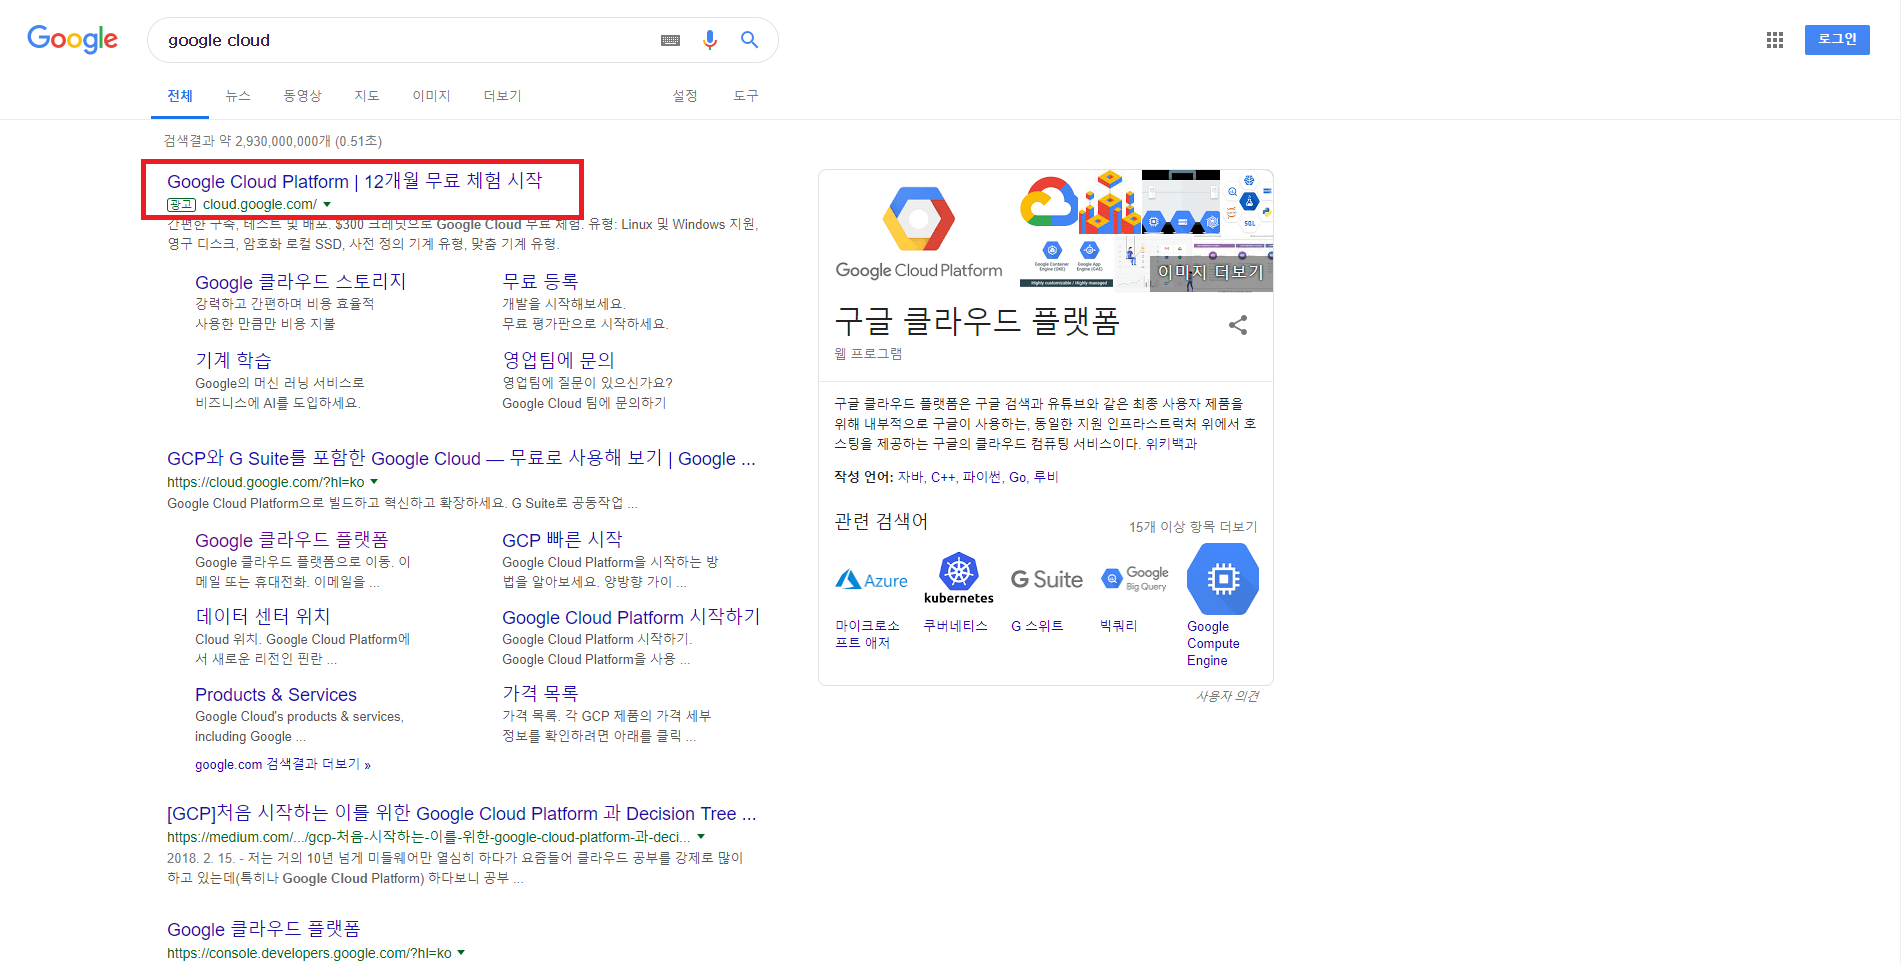
Type google cloud into Google and click the very first result.
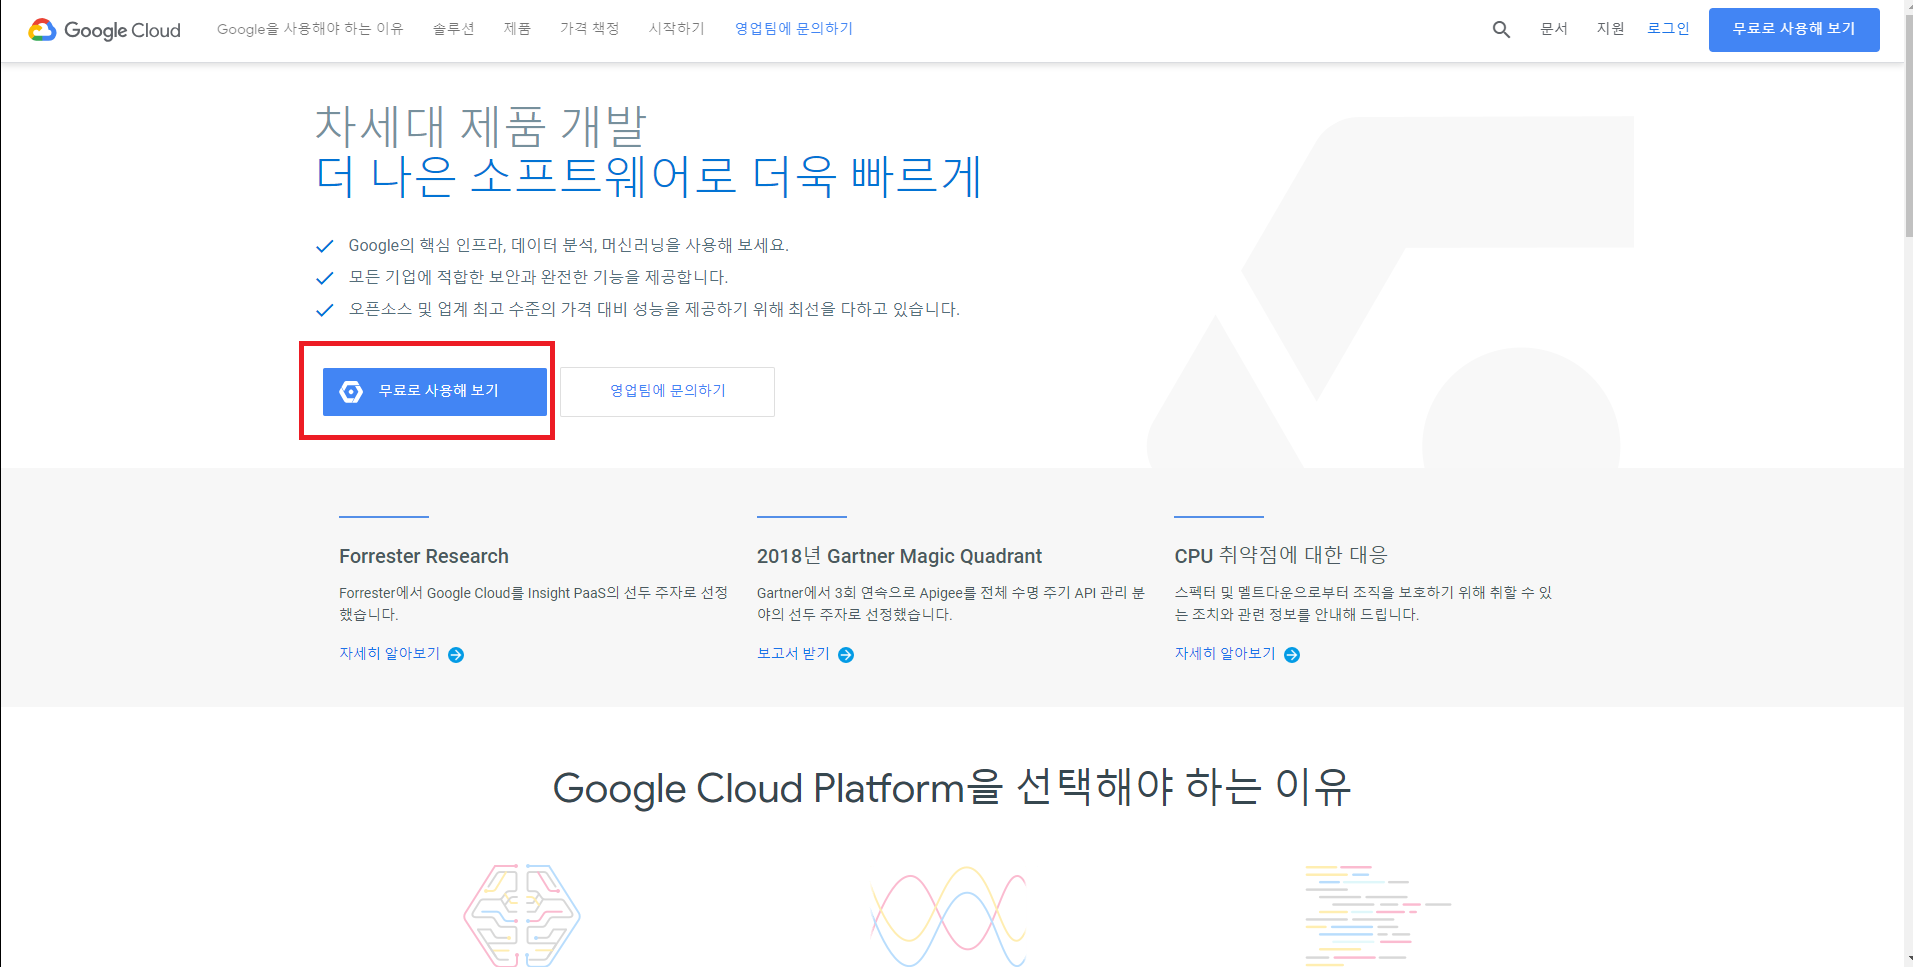
Click Try it free, then sign in.
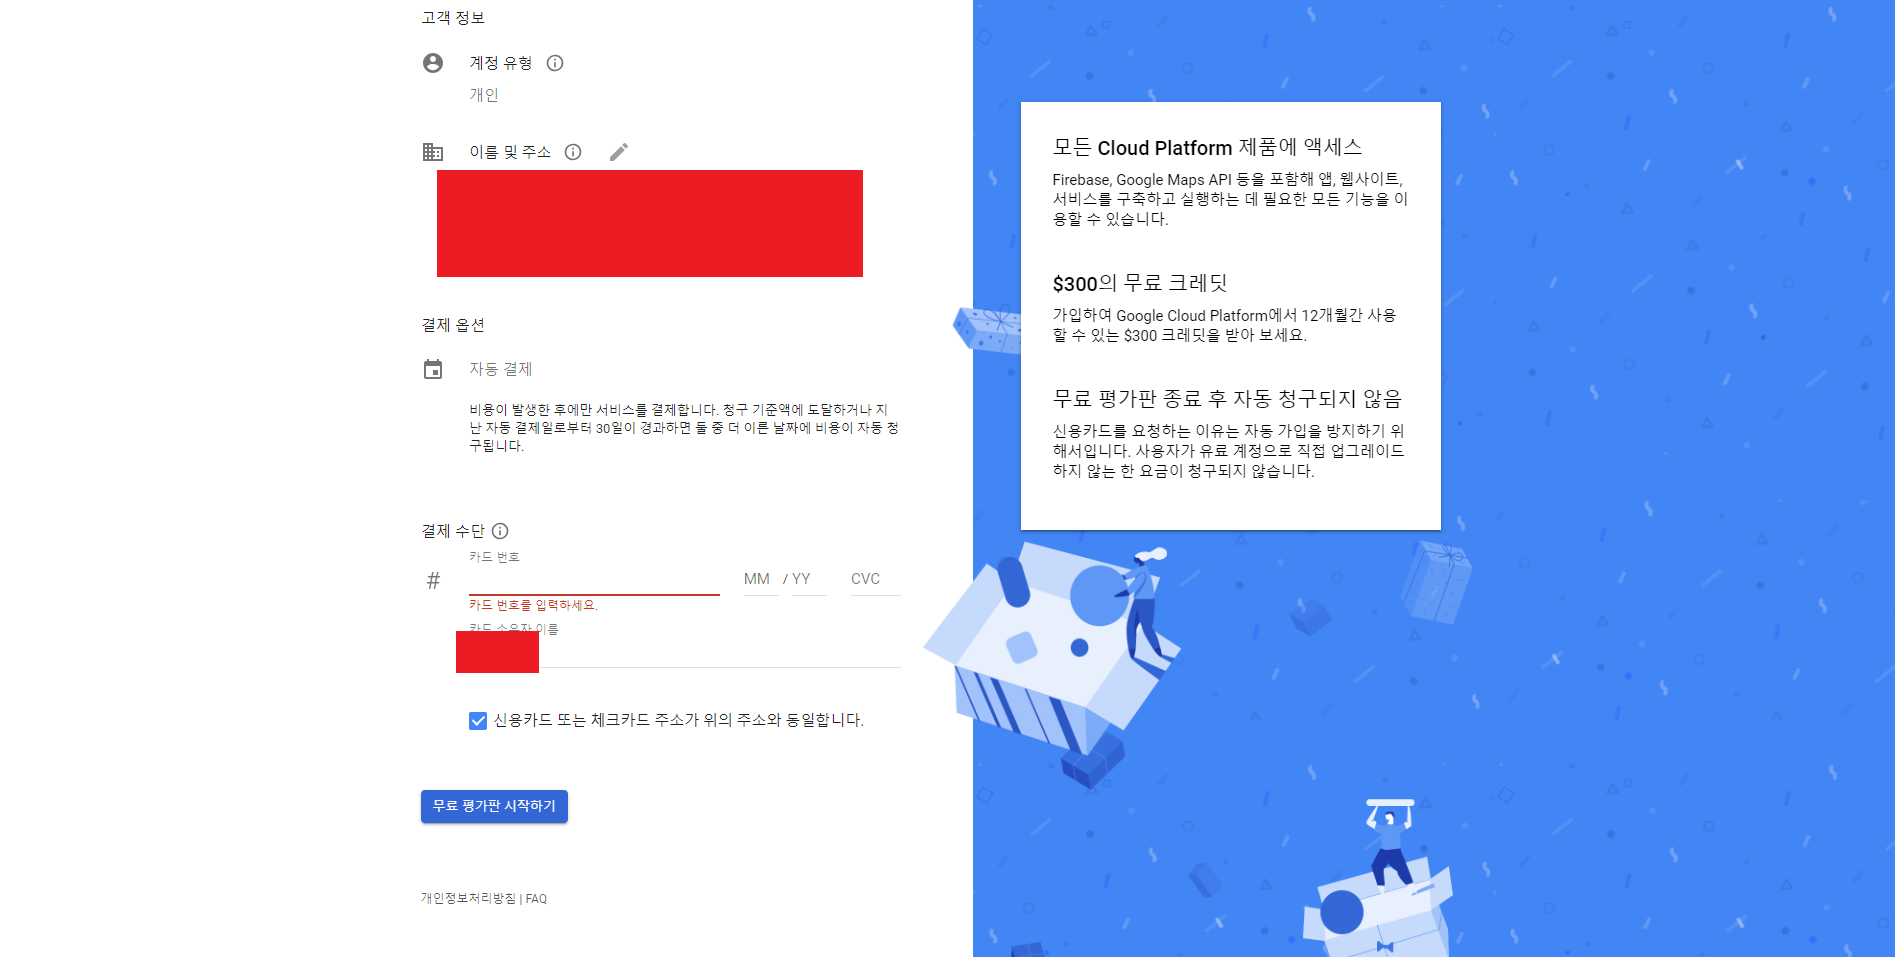
Enter your payment details.
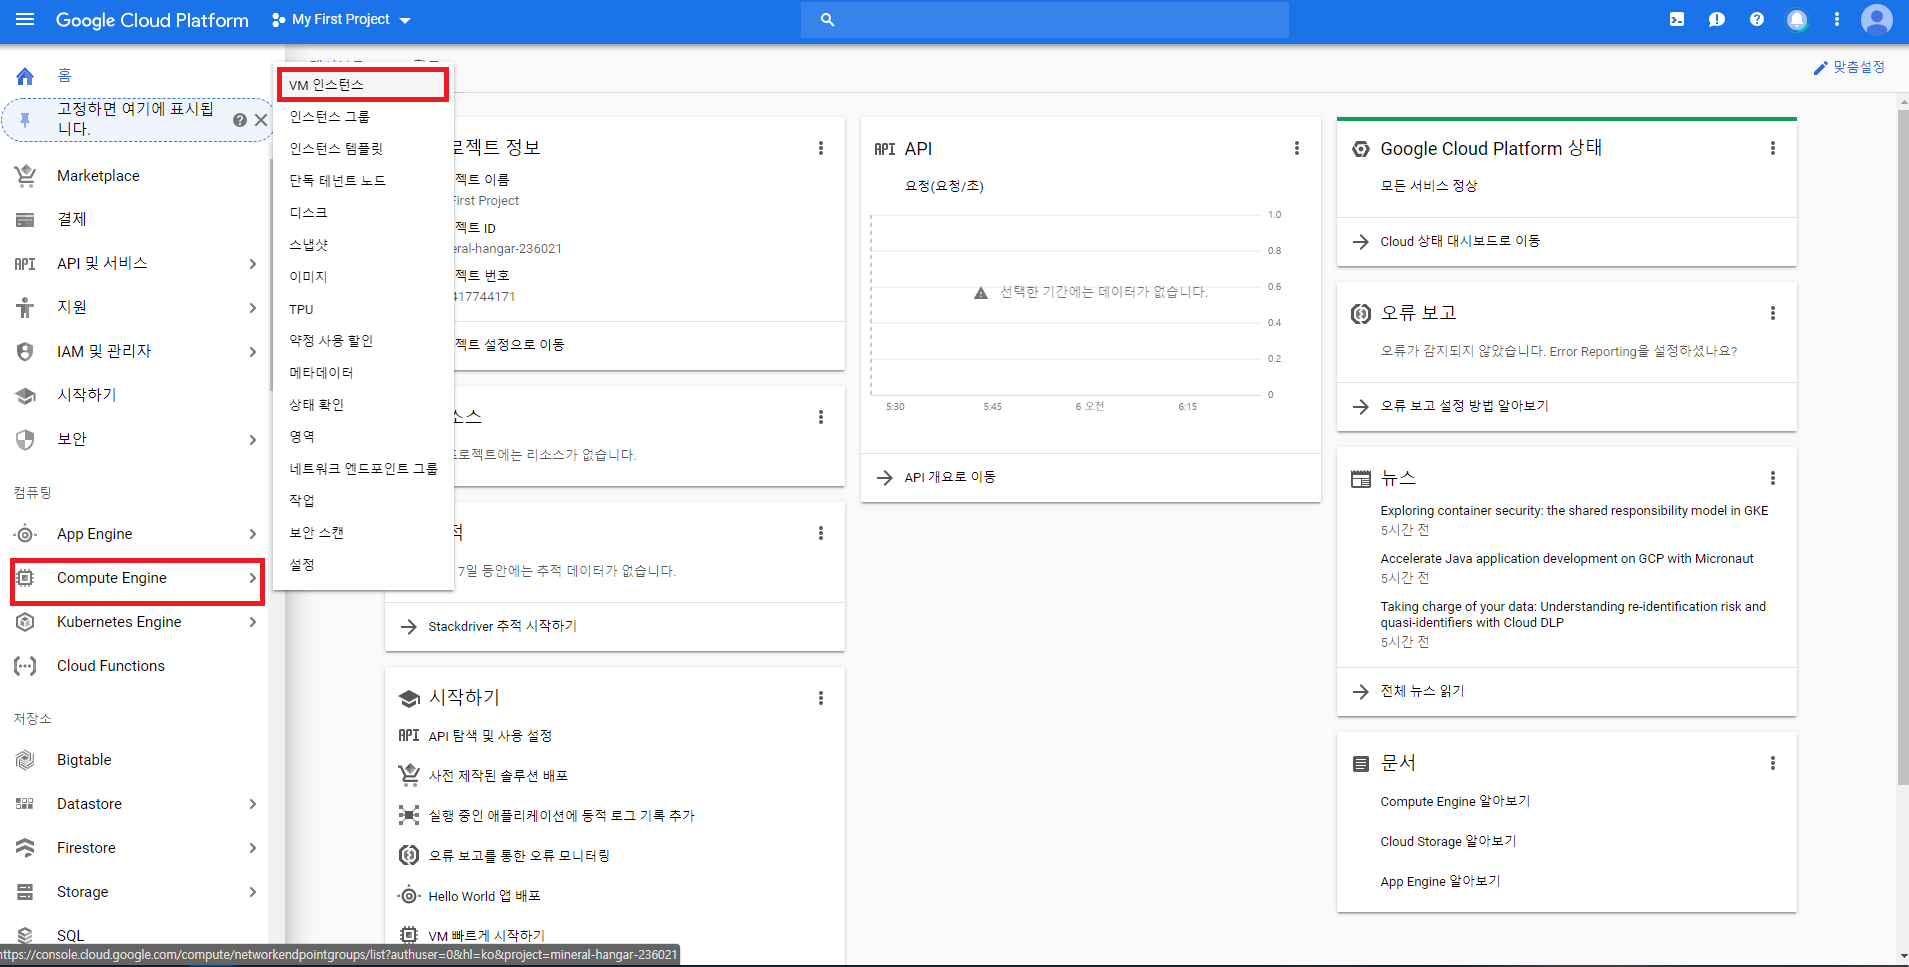
Once you’ve entered your payment details, you’ll see a dashboard like this. From here, click VM instances under Compute Engine.
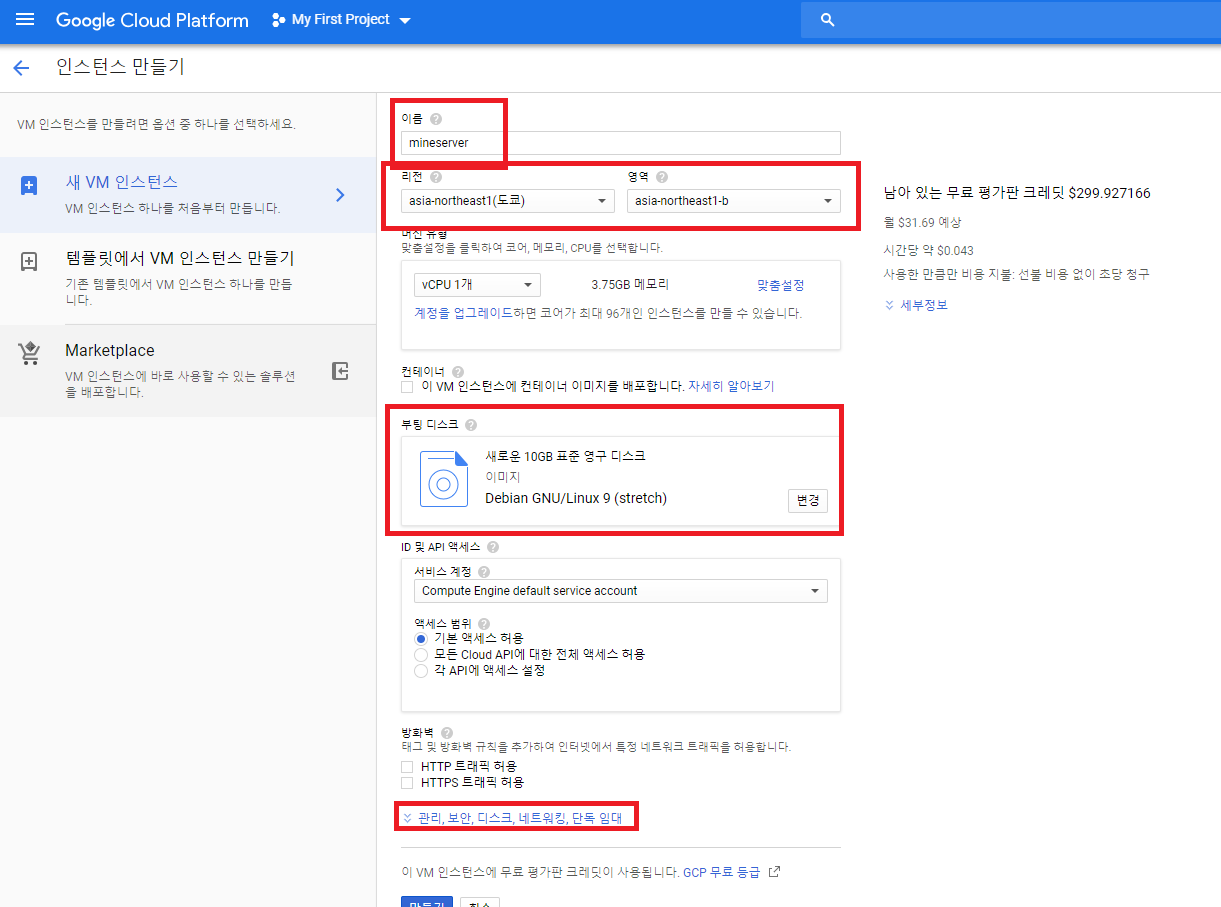
Choose a name and region for your server. I named mine minecraftserver. The price varies depending on which region you choose, and I went with Tokyo. Then choose how many CPUs and how much memory you want.
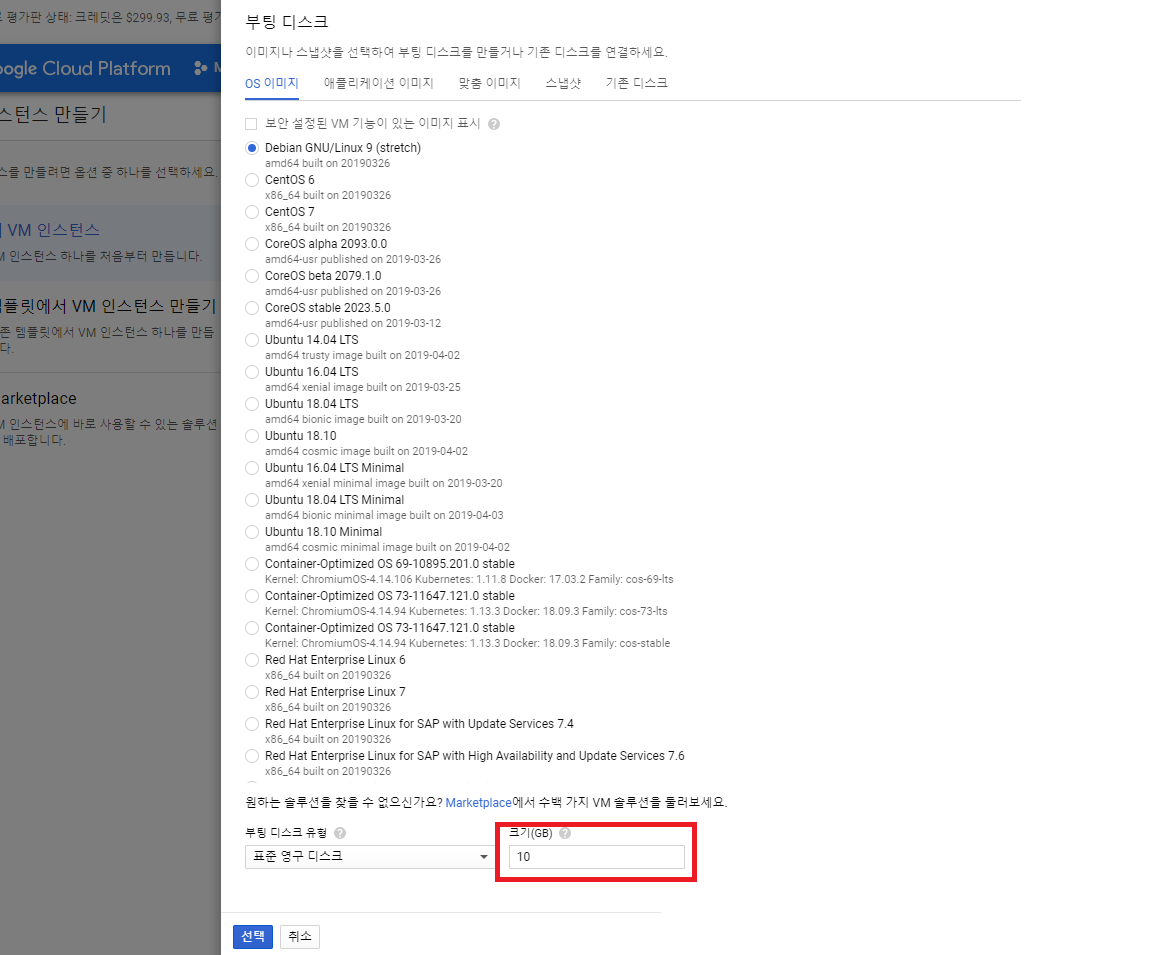
Next, click Change under Boot disk. A window like this will pop up, where you can choose the operating system and disk size.
I’ll keep Debian as the default operating system and set the disk size to 15 GB. Then click “Management, security, disks, networking, sole tenancy.”
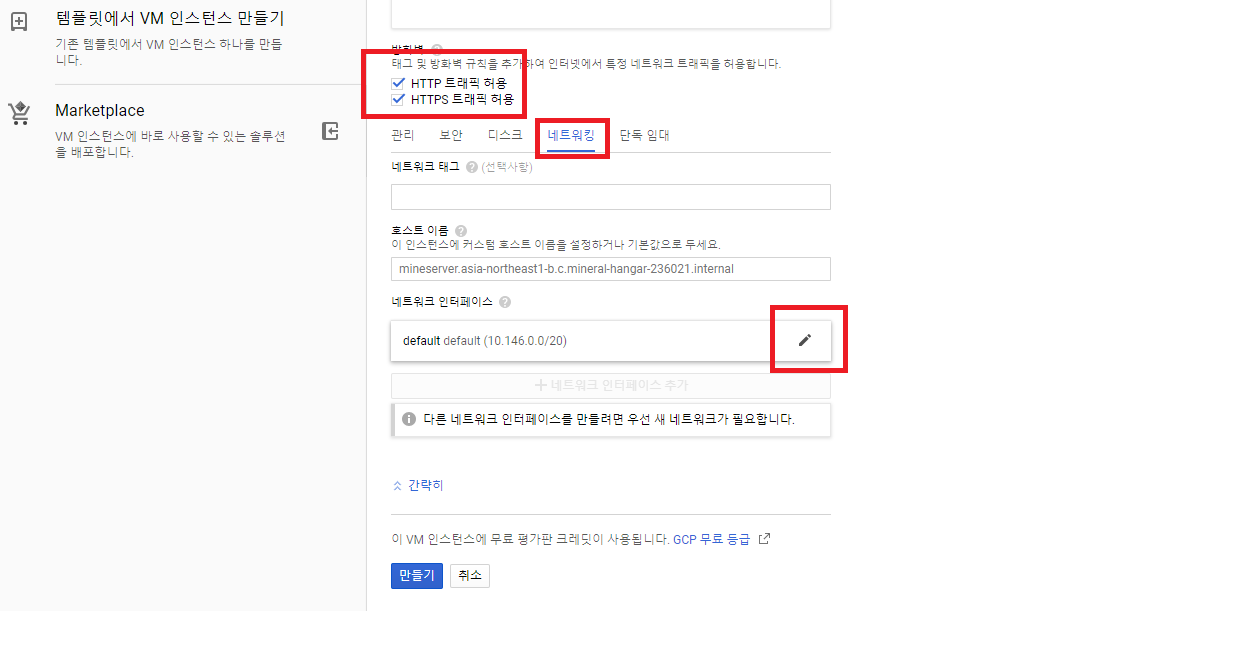
Next, check both the HTTP and HTTPS boxes under Firewall, then click Networking. Under Network interfaces, click the pencil icon to the right of default to open a window where you can edit it.
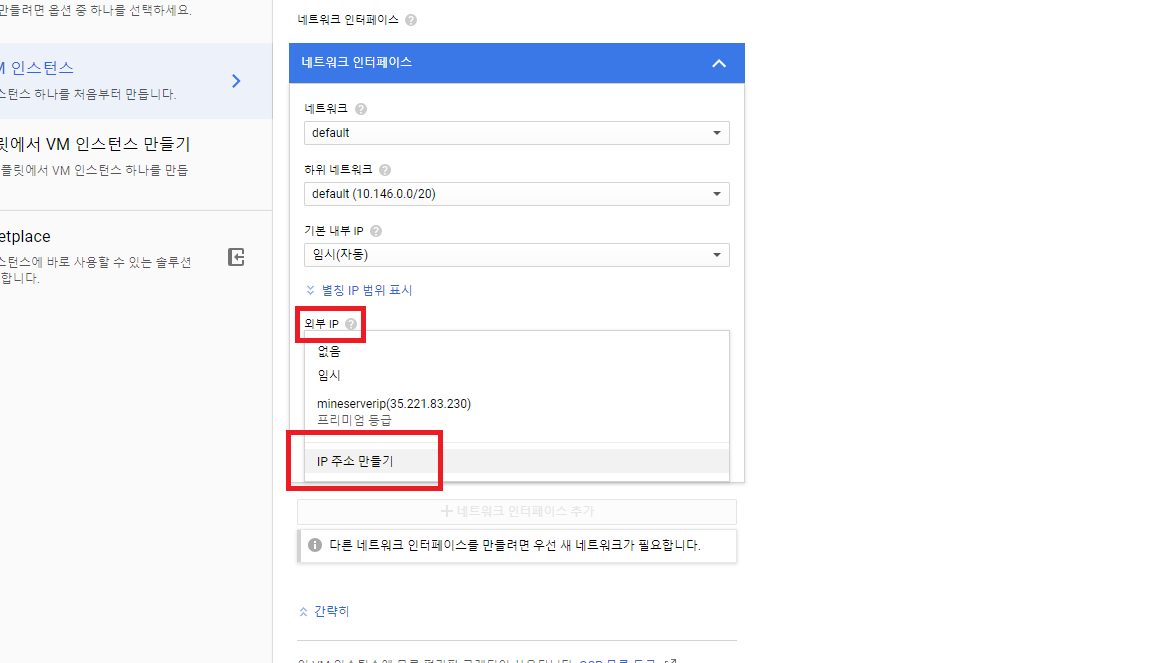
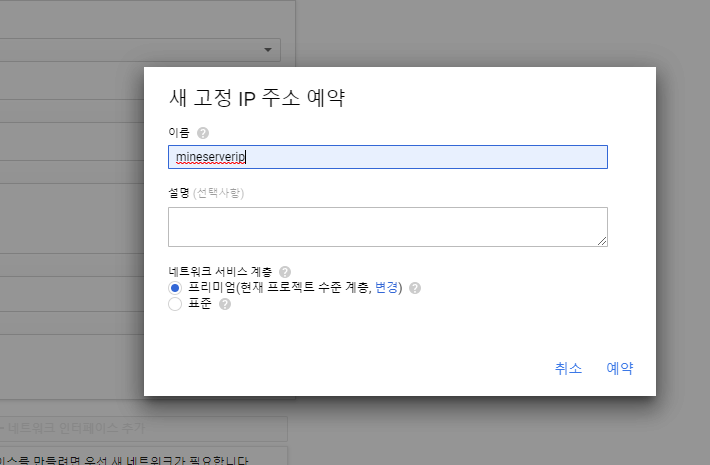
Next, under External IP, click Create IP address. A window called Reserve a new static IP address will pop up. Once you enter a name and click Reserve,
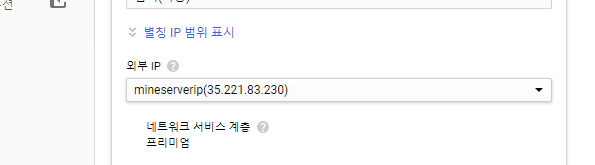
you’ll get an IP address like this. Then click Done and click Create at the very bottom.
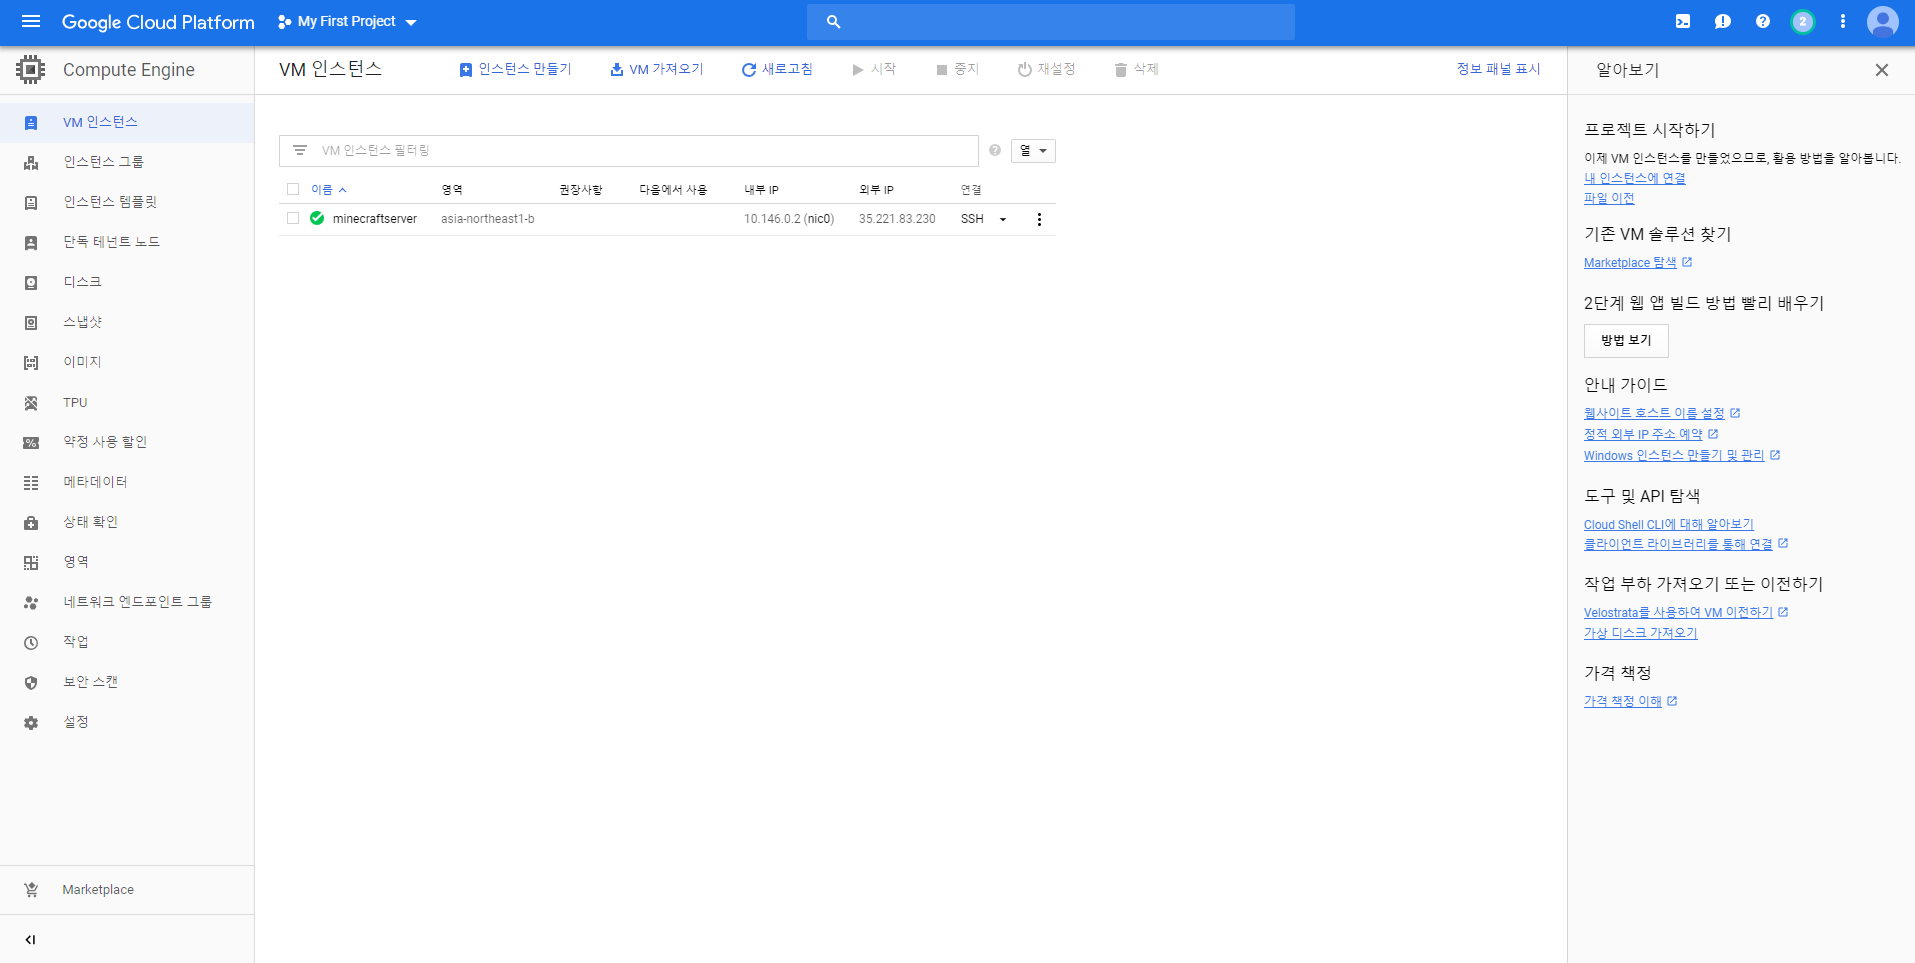
If you’ve created the server successfully, you’ll see it in the list like this.
You can use a Google Cloud server free for 12 months, and they give you $300 in credit, so you can go ahead and use it without worrying.
That’s how you host a server on Google Cloud. In the next part, I’ll show you how to configure the server.
Part 2
Setting Up a 24/7 Minecraft Server with Free Server Hosting, Part 2
Last time, we set up a multiplayer Minecraft server on Google Cloud. This time, let’s look at how to configure it. Click SSH under Connect. A window like this opens. From here…
harineubo.tistory.com
Part 3
Setting Up a 24/7 Minecraft Server with Free Server Hosting, Part 3
Sorry I haven’t been able to post lately. I’ve been really busy... Today we’re on Part 3 of setting up a 24/7 Minecraft server!! In Part 2, we used FileZilla to connect to Google Cloud so we’d be ready to transfer the Bukkit files to the server…
harineubo.tistory.com