I use quite a few different messaging apps, but when it comes to something simple and convenient,
I don't think much beats Telegram.
When you're using messaging apps, you naturally end up sending lots of emoticons and stickers.
With KakaoTalk or LINE, getting your own emoticons listed means going through a fairly complicated review process,
whereas Telegram lets you upload your own creations. So I thought I'd show you
how to make your own stickers on Telegram.
Creating Telegram stickers
1. Prepare your 512px stickers
Before you make your Telegram stickers, the first thing to do is prepare the images you want to upload.
Make them 512 x 512. Anything larger can't be registered, so try to
stick to that size.
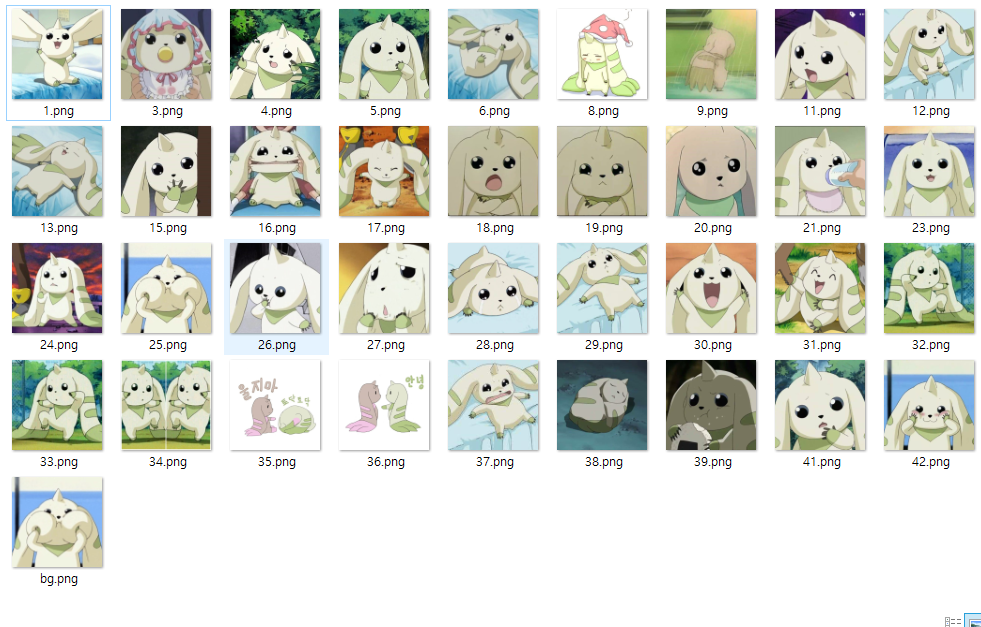
I had a go at making some with Terriermon.
2. Make a thumbnail
Next, you'll need to create the thumbnail that will appear in Telegram.
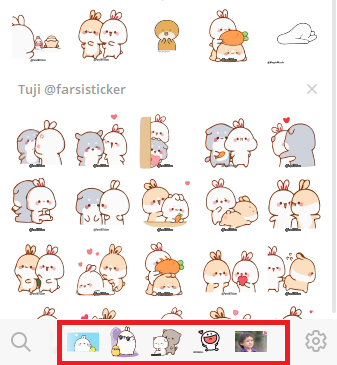
This bit here is the thumbnail. You'll want to make it 100px.
This is the image I used for mine.
Adding your stickers to Telegram
Now let's add the stickers to Telegram.
To do that, you'll need to add the sticker bot.
1. Add the sticker bot
Stickers Bot
Create Telegram Stickers and get usage stats for your stickers with this bot.
telegram.me
Add the sticker bot using this link.
(You can also type stickers into Telegram.)
2. Create a sticker pack
Next, you need to create a sticker pack. This part is easy.
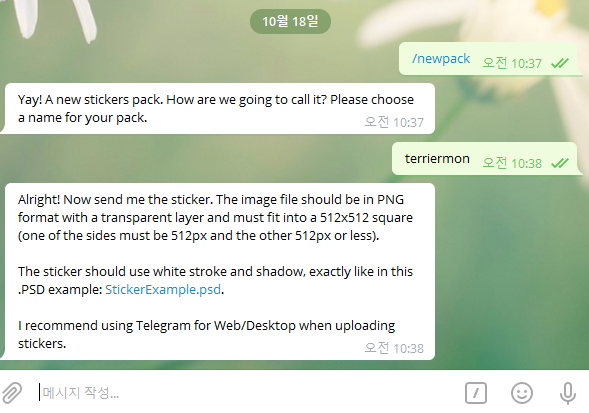
Type /newpack in the sticker bot chat and choose a name for the pack you're making.
I'll call mine terriermon.
(It will let you know if the name is already taken, so you can use a different one.)
3. Upload your images
If you've made it this far, the rest is straightforward.
Drag the images you prepared earlier into the Telegram chat window, one at a time.
There's something important to watch out for here.
When you drag the image in, you get two options: 압축하지 않고 보내기 (Send without compression) and 빠른 방법으로 보내기 (Send quickly).
You must choose "Send without compression".
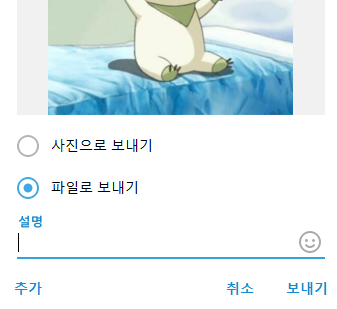
You'll then see a screen like this; at this point, either sending option is fine.
I'll choose to send it as a file.
Next, enter an emoji that goes with the sticker you just uploaded.
The reason for adding an emoji is that when you type that emoji in a chat, Telegram shows you the stickers associated with it,
so it's best to choose one that suits the sticker.
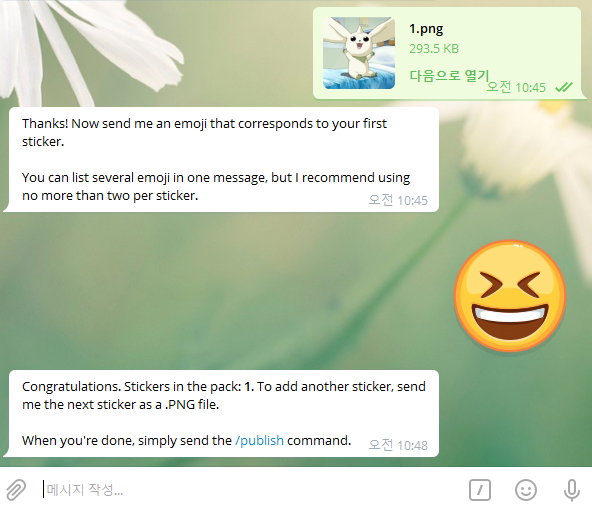
Just add an emoji alongside the sticker like this.
After that, keep repeating the same process: upload an image, then assign its emoji.
4. When you've finished adding stickers, enter /publish
Entering /publish finishes the uploading stage and creates your sticker pack.
You'll then be asked to provide a thumbnail or choose skip. If you skip it, the first sticker will be used.
If you'd like to set a thumbnail, upload the 100px image you made at the start.
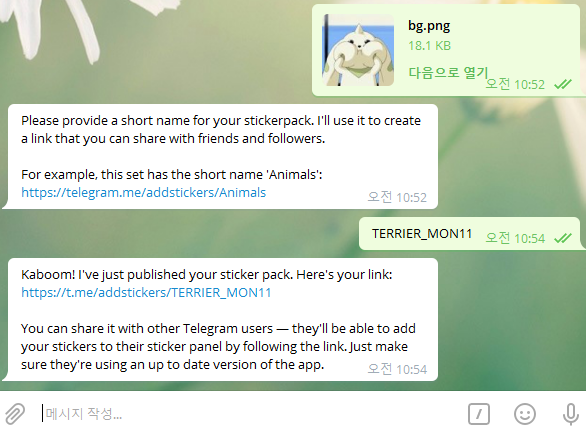
After adding the thumbnail, you create an address for sharing your stickers. Sometimes the name you want will already be taken.
If it is, though, the bot tells you straight away, so just choose another one.
People can easily get the pack through the shared link or by searching for its name in the sticker window.
Wrapping up
That was a quick look at how to make Telegram stickers.
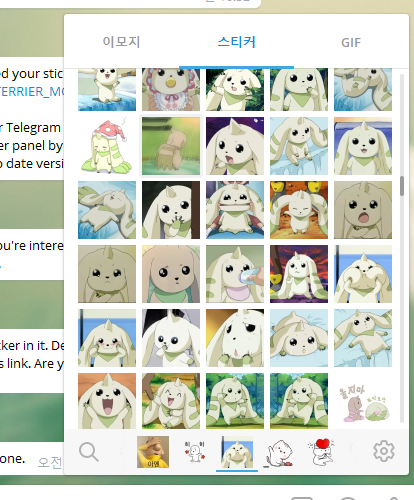
If everything went through properly, you should see them added like this.
Now you can enjoy using the stickers you've made.
Once you actually try it, it's not particularly hard, and it's pretty easy to do, but....
after the images are ready, you're really just repeating the same actions over and over...
which gets very dull and isn't much fun,
so it isn't a task I'd want to keep doing.
Thanks for sticking with my little guide to the end.
"This post is part of the Coupang Partners programme, through which I receive a certain amount of commission."