Hello, everyone!
It's been a while since I last wrote a post.
Today I thought I'd write about running a Minecraft server 24 hours a day on an ASUSTOR nas.
There are already plenty of guides for Synology nas devices that you can find with a search,
but I couldn't find one for ASUSTOR 😅
I suspect not that many of you have one of this company's products,
but I'll jot down the steps anyway.
(Just so you know, this is a bit of a makeshift approach, so you might run into errors..)
Oh, and I've written this assuming you already know the basics.
If anything is unclear, feel free to ask, and have a look at my earlier posts, other guides or search results.
1. Install Minecraft on the nas
Rather unusually, ASUSTOR actually provides Minecraft as a downloadable app.
That means you don't have to use something like Docker.
The trouble is, it hasn't been updated, so the only version available is 1.8.1.
Today, then, I'll show you how to upgrade it to 1.16.5, the latest version at the time of writing.
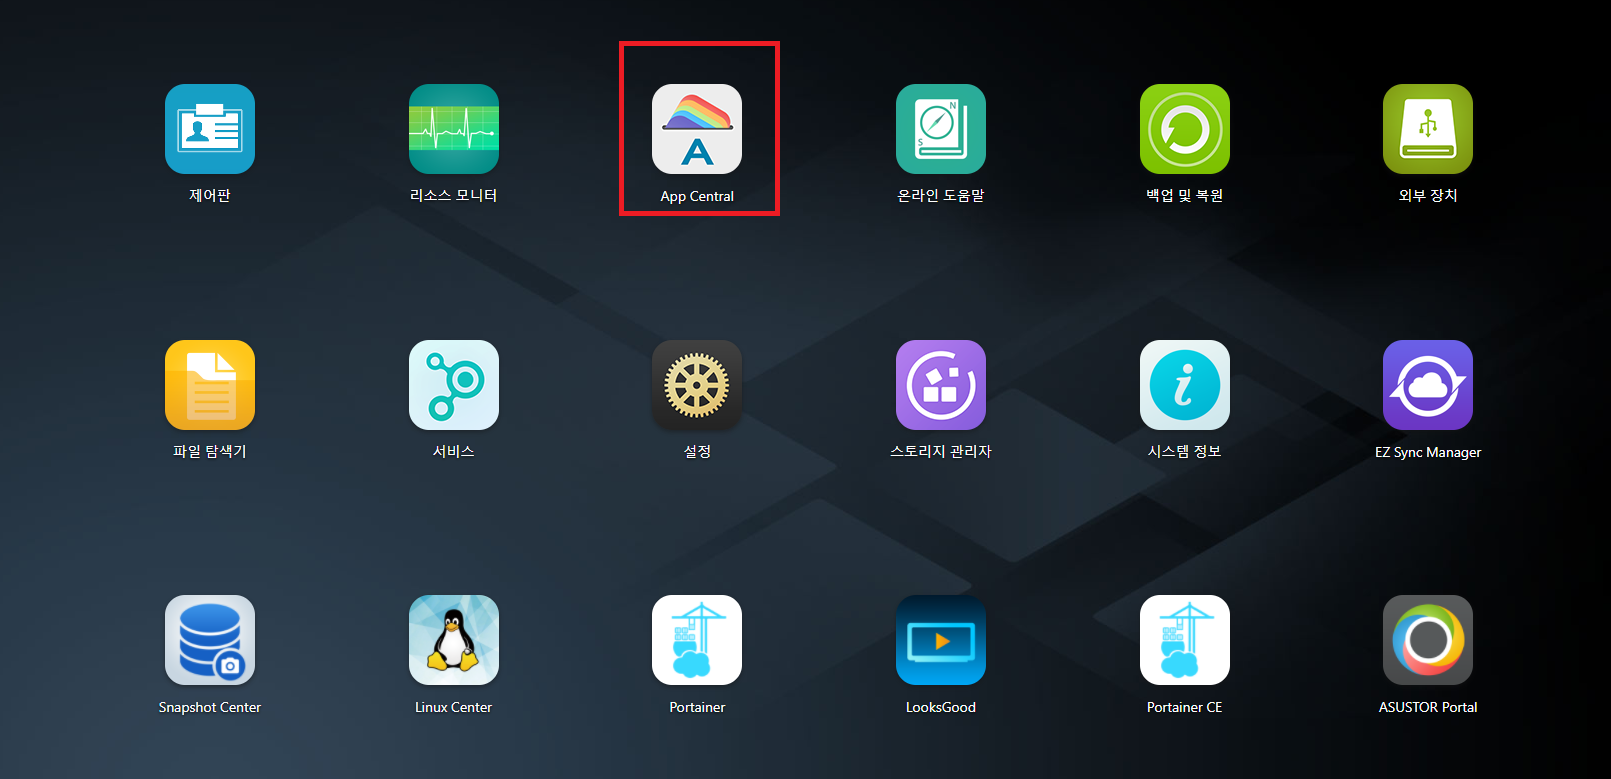
First, connect to your nas and click the App Central icon shown here.
Once you click it,
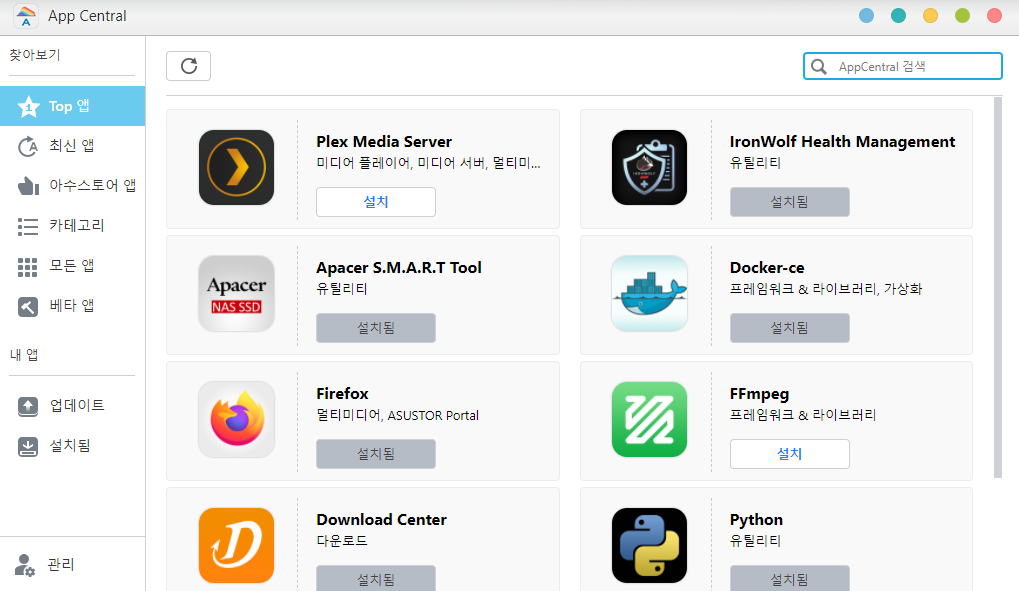
a window like this will open. Enter minecraft in the search box.
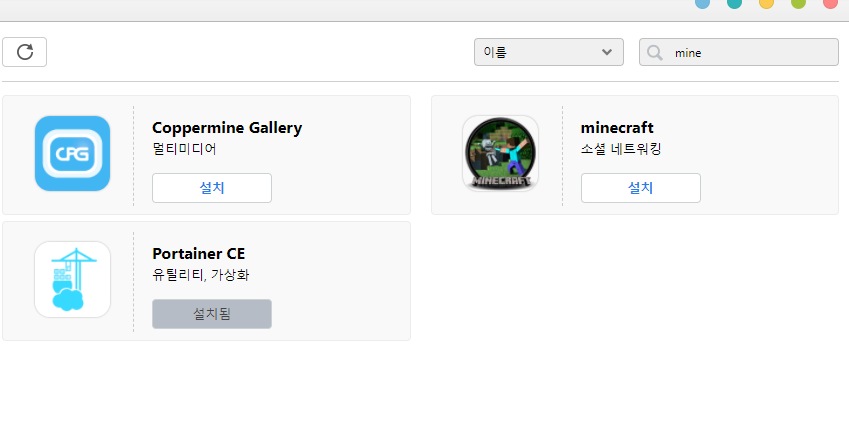
Then install it.
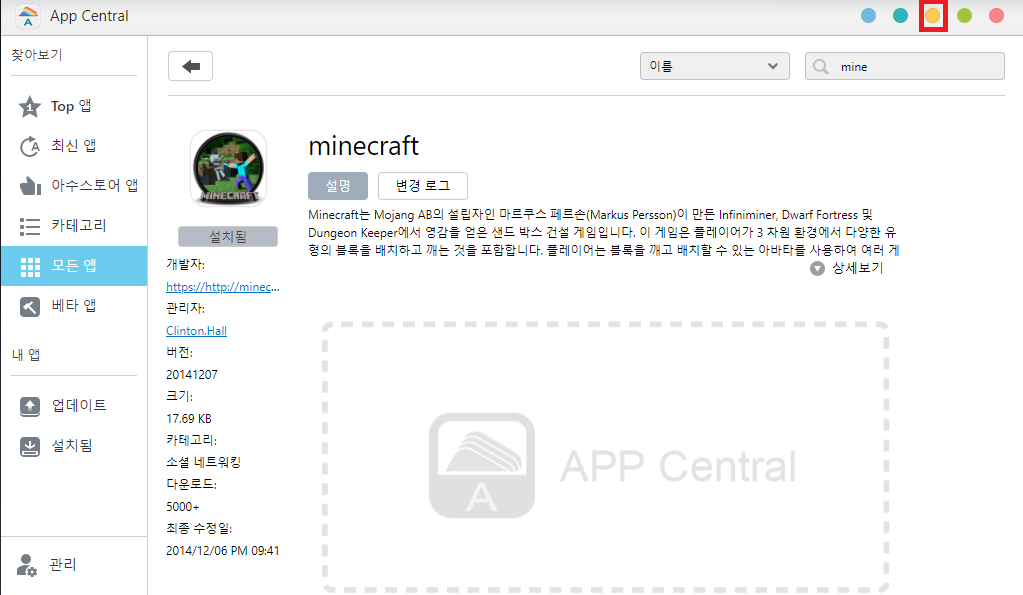
Minimise App Central using the yellow button at the top right.

Next, let's check that it installed properly.
Find File Explorer and open it.
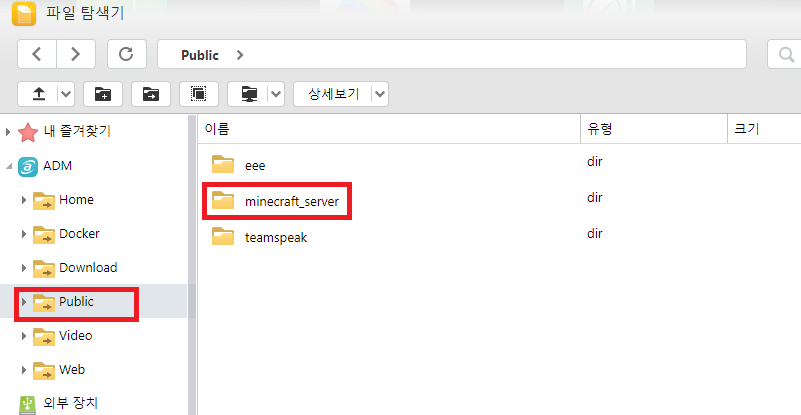
You'll see a file browser like this. There's usually a minecraft_server folder inside Public, as shown in the picture, so open that.
Then install Minecraft version 1.8.1 and check that you can connect properly.
(This step isn't strictly necessary.)
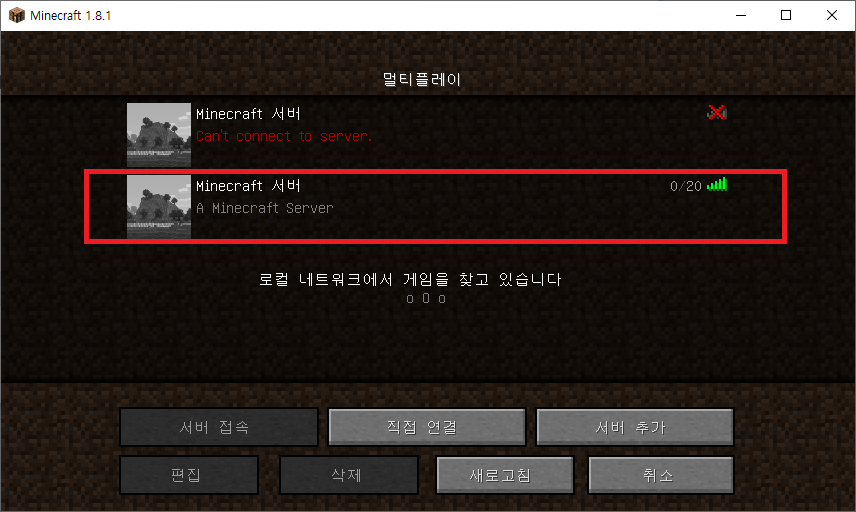
I was able to confirm that mine connected like this.
2. Upgrade Minecraft
Once that's working, let's upgrade the version.
Oh, and the reason for taking this rather roundabout route is that installing Minecraft through App Central starts a daemon by default,
which lets it run 24 hours a day.
So if you don't need your server running 24 hours a day, you can do what I described in my earlier post:
move the files to the nas, connect with putty and run the server jar.
That approach is a bit tidier and easier, too...
(But we're here to keep our server running 24 hours a day..)
Once you've reached this point, go back to File Explorer. We need to change a few things.
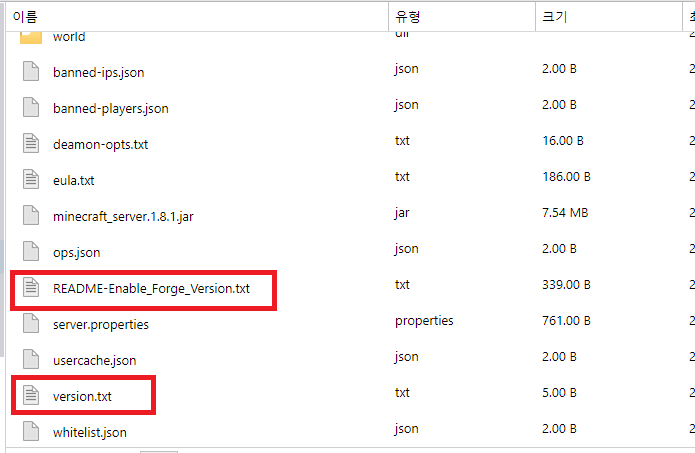
The files to edit are README-Enable_Forge_Version.txt and version.txt.
Double-clicking them downloads them to your computer automatically.
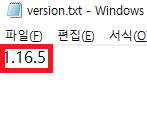
Then enter 1.16.5 in version.txt.
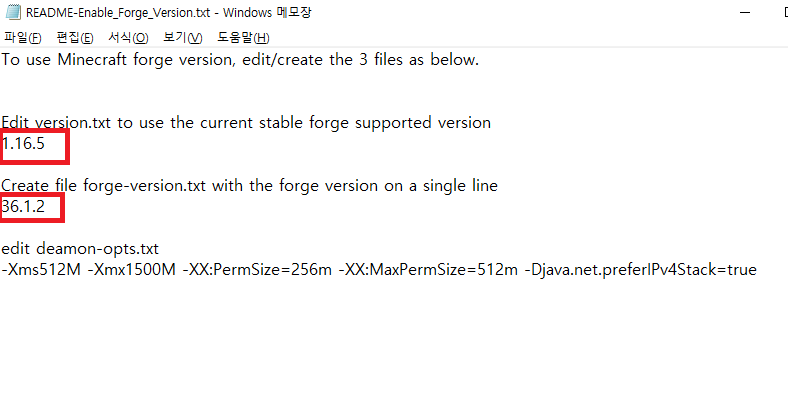
In this one, put the Minecraft version at the top and the Forge version underneath.
I've entered the Forge version for 1.16.5 here.
Now head back to the nas.
Open App Central again,
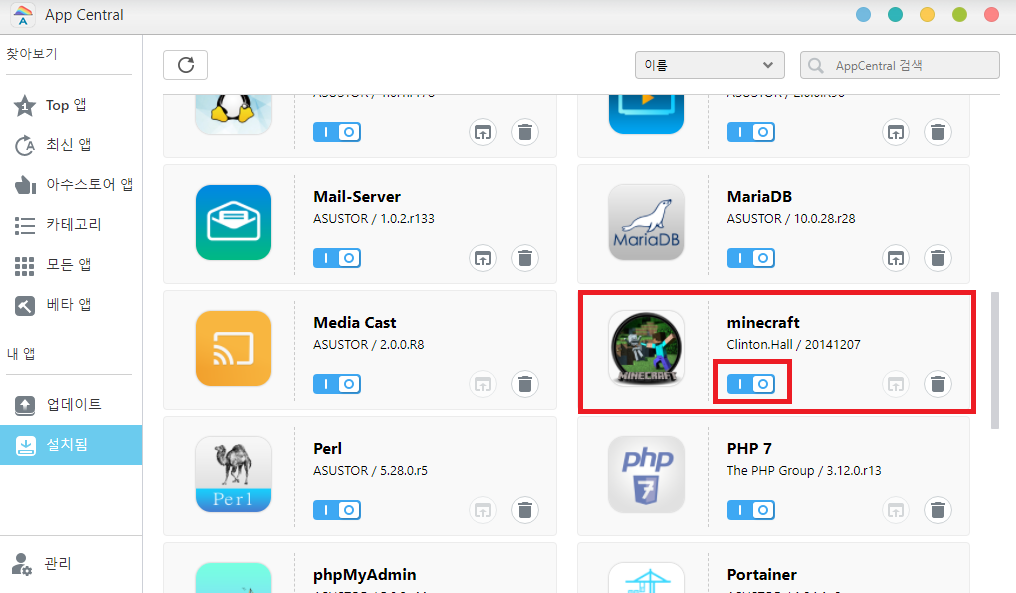
go to Installed on the left and find minecraft.
See that little | O switch underneath?
That's what you use to enable and disable it.
First, click it so that it turns grey.
That disables it.
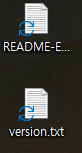
Now move the version files you edited on your computer back onto the nas.
You can just drag them over.
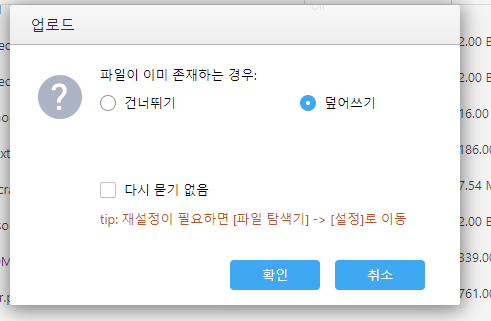
If this screen appears, choose to overwrite the files.
Next, we'll copy over the server jar.
I don't use vanilla much, so I'll be using the Paper 1.16.5 server jar.
Head to papermc.io/downloads to download the file.

Take this file
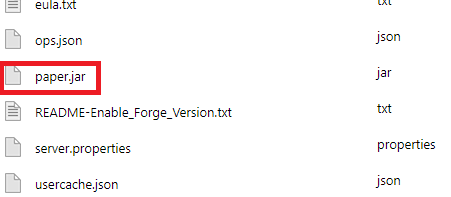
and move it over like this.
Next, we'll rename it.
Right-click it and select Rename.
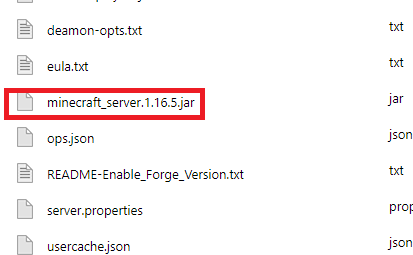
I'll change the name to minecraft_server.1.16.5.jar.
At this point, if you enable Minecraft again, you should probably be able to connect to the multiplayer server.
If that doesn't work, or if you need to change the settings through the server console,
use putty.
For putty, visit www.chiark.greenend.org.uk/~sgtatham/putty/latest.html to download it.

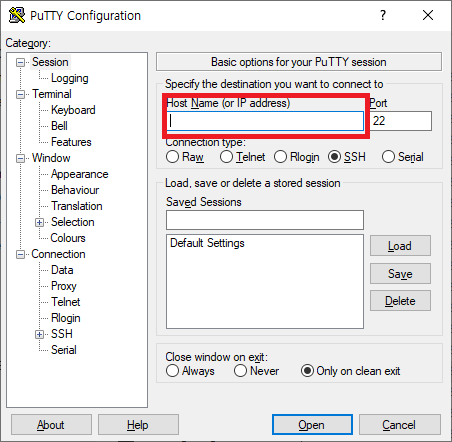
Launch putty and enter your nas's ip address in host name.
Then click open,
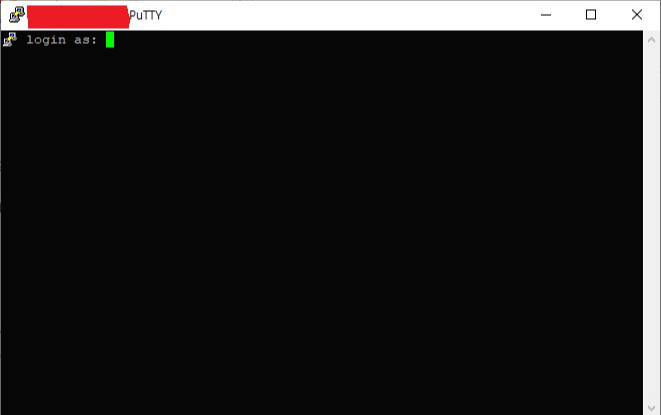
and you'll see a screen like this. Enter the username and password you use to log in to your nas.
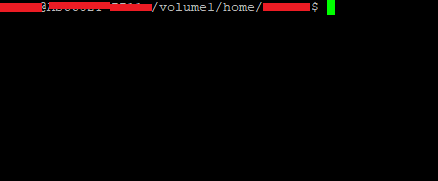
Next, use the cd command to navigate to minecraft_server inside Public.
On my nas, it was under volume1.
Use cd .. to get to volume1,
cd Public
cd minecraft_server
and you'll be in the folder containing Minecraft.
It's useful to run ls along the way to check where you need to go next.
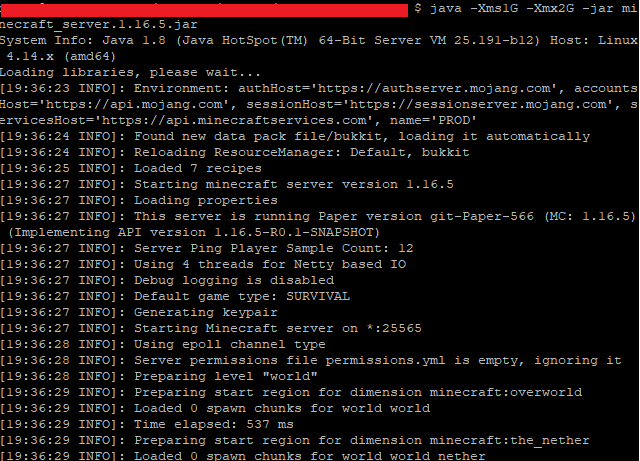
Then enter java -Xms1G -Xmx2G -jar minecraft_server.1.16.5.jar.
When you get to that mine-something filename at the end, if there's only one matching file, pressing tab will complete it for you.
Anyway, after that, the server jar should start up successfully.
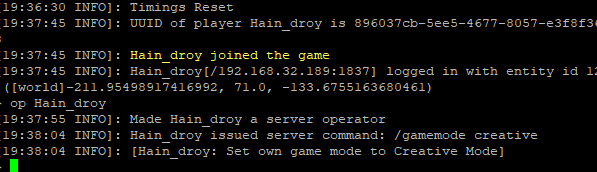
I'll give my character op permissions here.
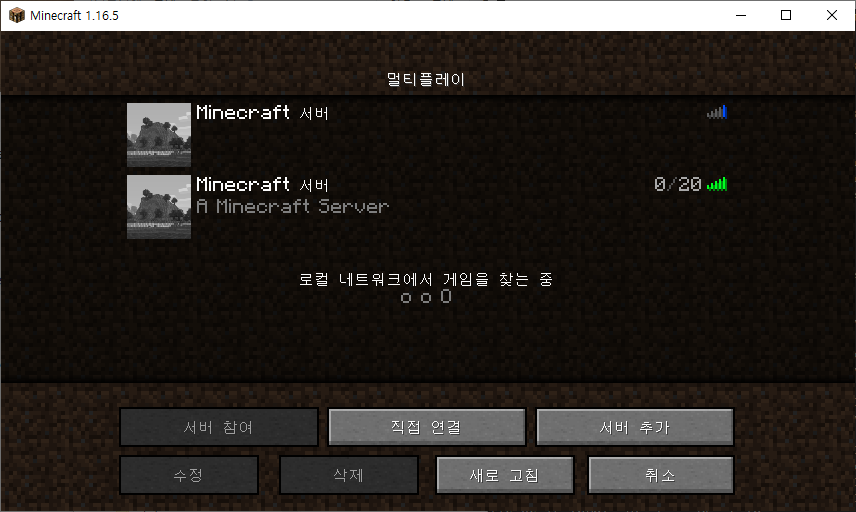
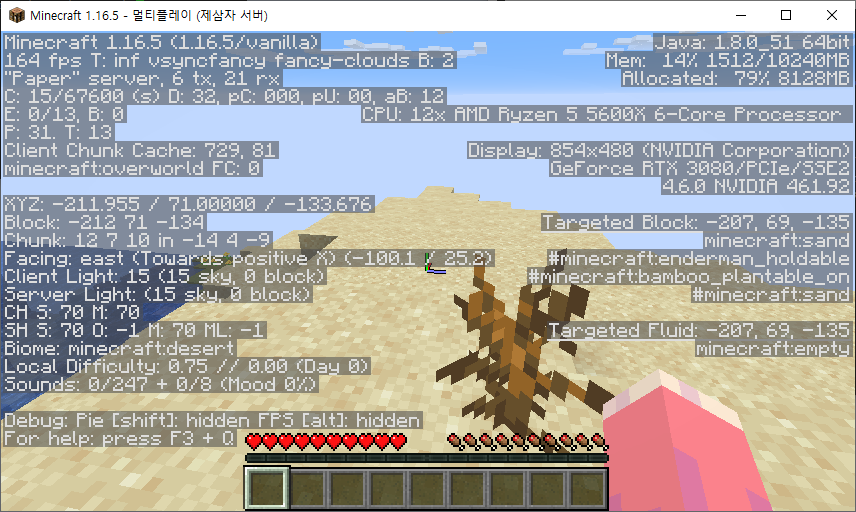
And here you can see that I'm able to connect.
3. Increase the memory allocation
I'd love to say that was all there was to it, but in my tests, perhaps because there wasn't enough memory allocated,
loading took a while and I ran into some lag.
So let's give it a little more memory.
Remember the README-Enable_Forge_Version.txt file on the nas?
Open that file
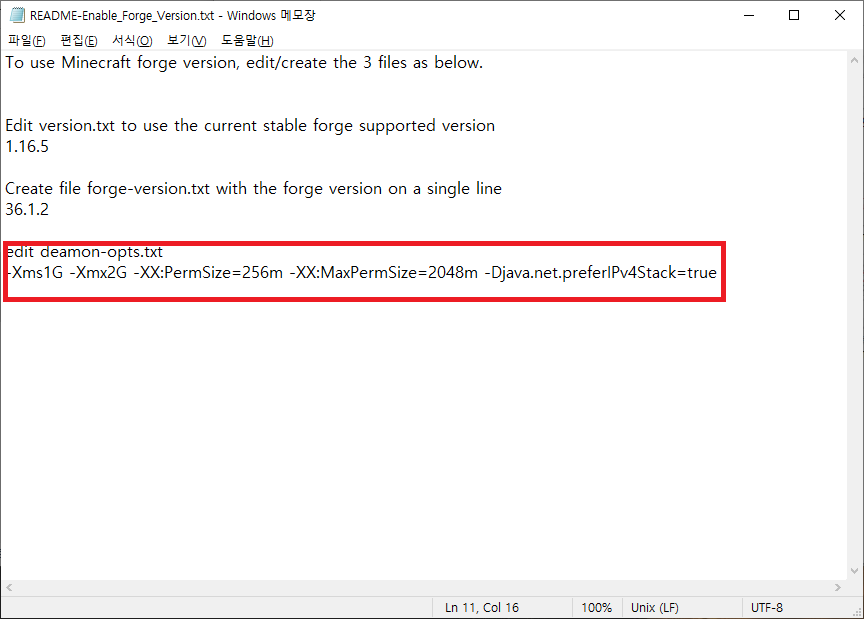
and change it like this.
I've set mine this way because my device only has 4 GB,
but if you've upgraded yours or have a better-equipped model, you can allocate more.
I don't imagine anyone buys a nas just to play Minecraft, though...
Anyway, once you've made the changes, upload the file back to the nas.
Then, if you look in File Explorer on the nas,
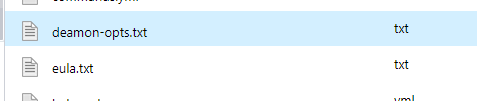
you should see a file called deamon-opts.txt.
Download that,
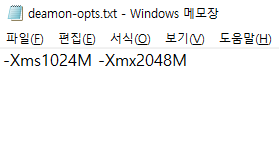
and set a suitable memory allocation, as I've done.
Right, now we really are finished.
4. Wrapping up
As I said at the beginning, this is essentially a makeshift workaround.
That means it may not run properly, and adding various mods or plugins could cause conflicts.
I haven't tested it with lots of people myself, so I can't say what problems might crop up.
I don't know how many people will use this method, but I'd love to hear your questions and feedback.
Thank you~*